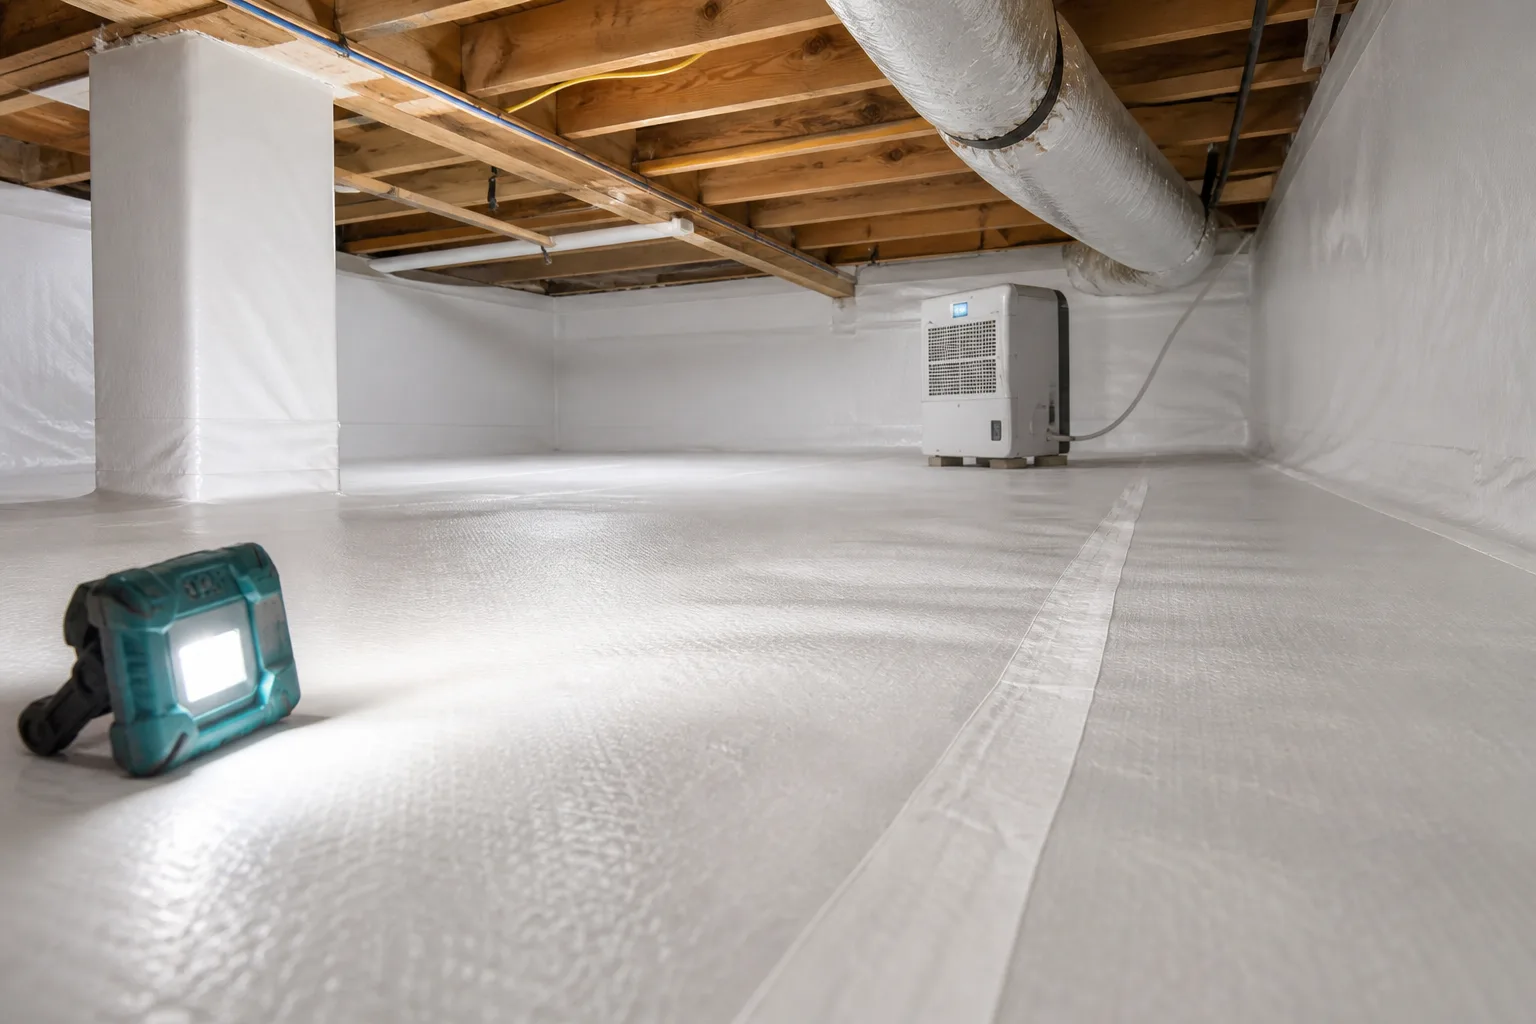
Why this walkthrough is worth an hour
Encapsulation is an envelope. Its value comes from being continuous — and continuity lives in exactly the places that are quick to skip and hard to see from the hatch: the seam behind a pier, the top edge of the wall liner, the vent in the far corner, the collar around a pipe. None of those require tools to inspect. They require getting in there with a light and looking at edges rather than expanses.
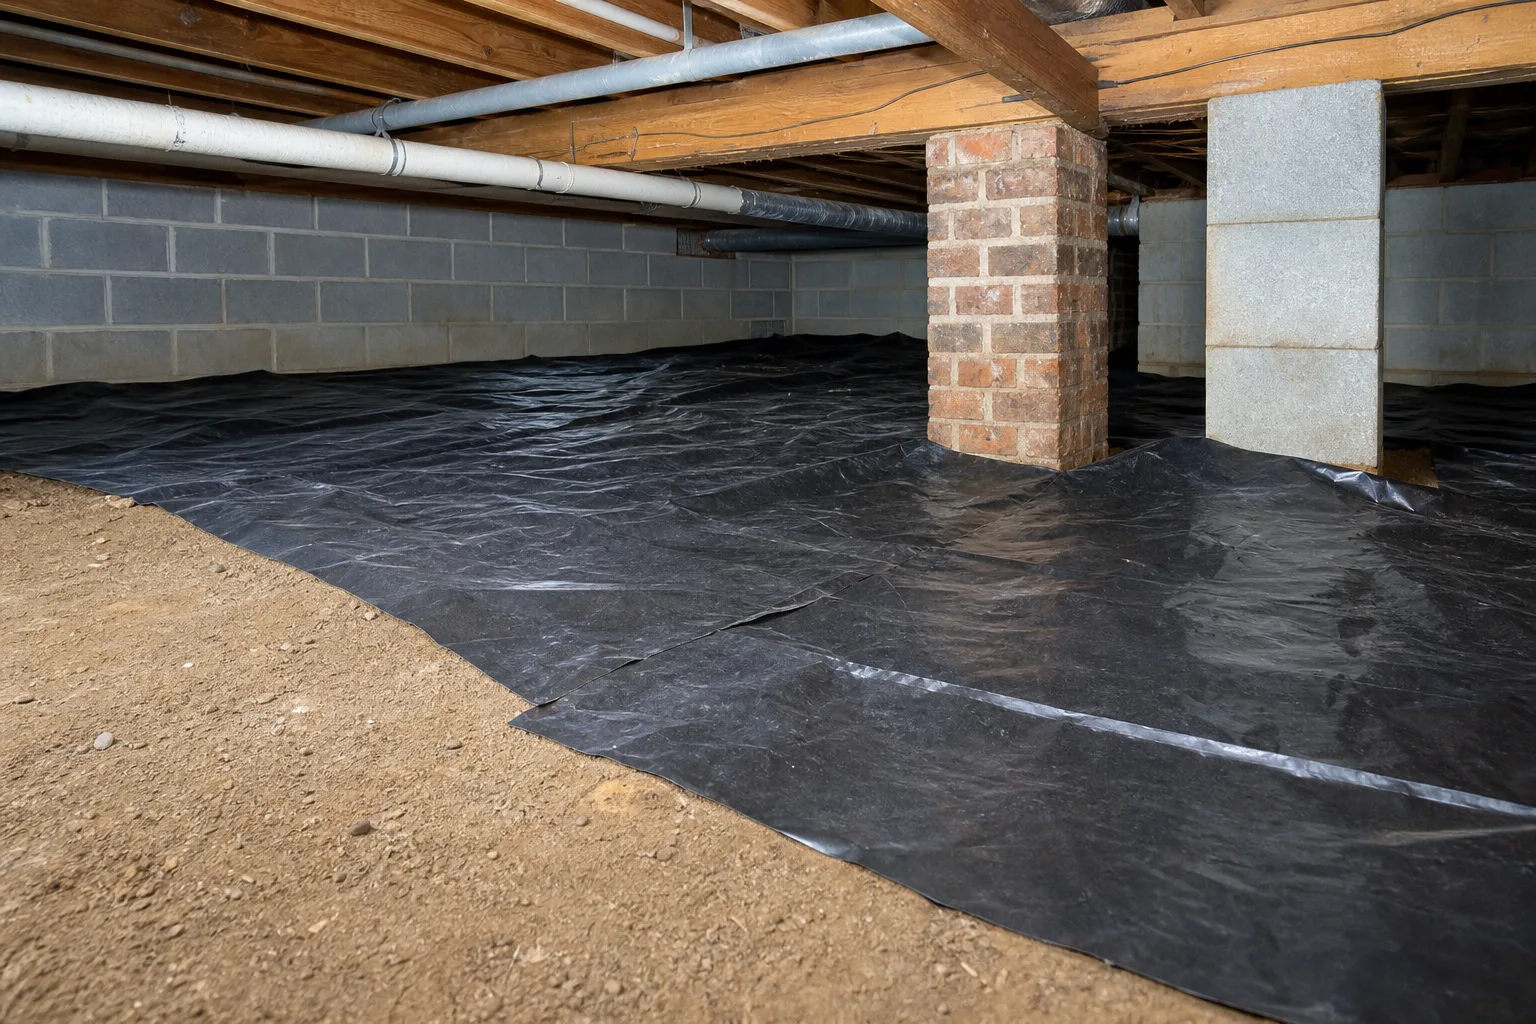
The comparison below is the whole guide in two frames. Same material, same colour of plastic. One is a sealed system; the other is sheeting resting on soil.
1–3 · The floor
01Floor seams are adhered along their whole length
Overlapped is not sealed. Run a hand along each seam and look for edges that lift, particularly where two liner runs meet at a pier or a wall. Tape stuck to dusty plastic releases within a season.
02No bare soil anywhere
Look at the perimeter, around every pier, and under the dehumidifier. Visible earth means the liner was cut short. This is the most common shortcut and the easiest to photograph.
03The liner lies flat, not bridged
Liner that tents over a low spot traps water underneath. It should follow the grade, with any low area addressed before the liner went down rather than covered over.
4–6 · Walls and piers
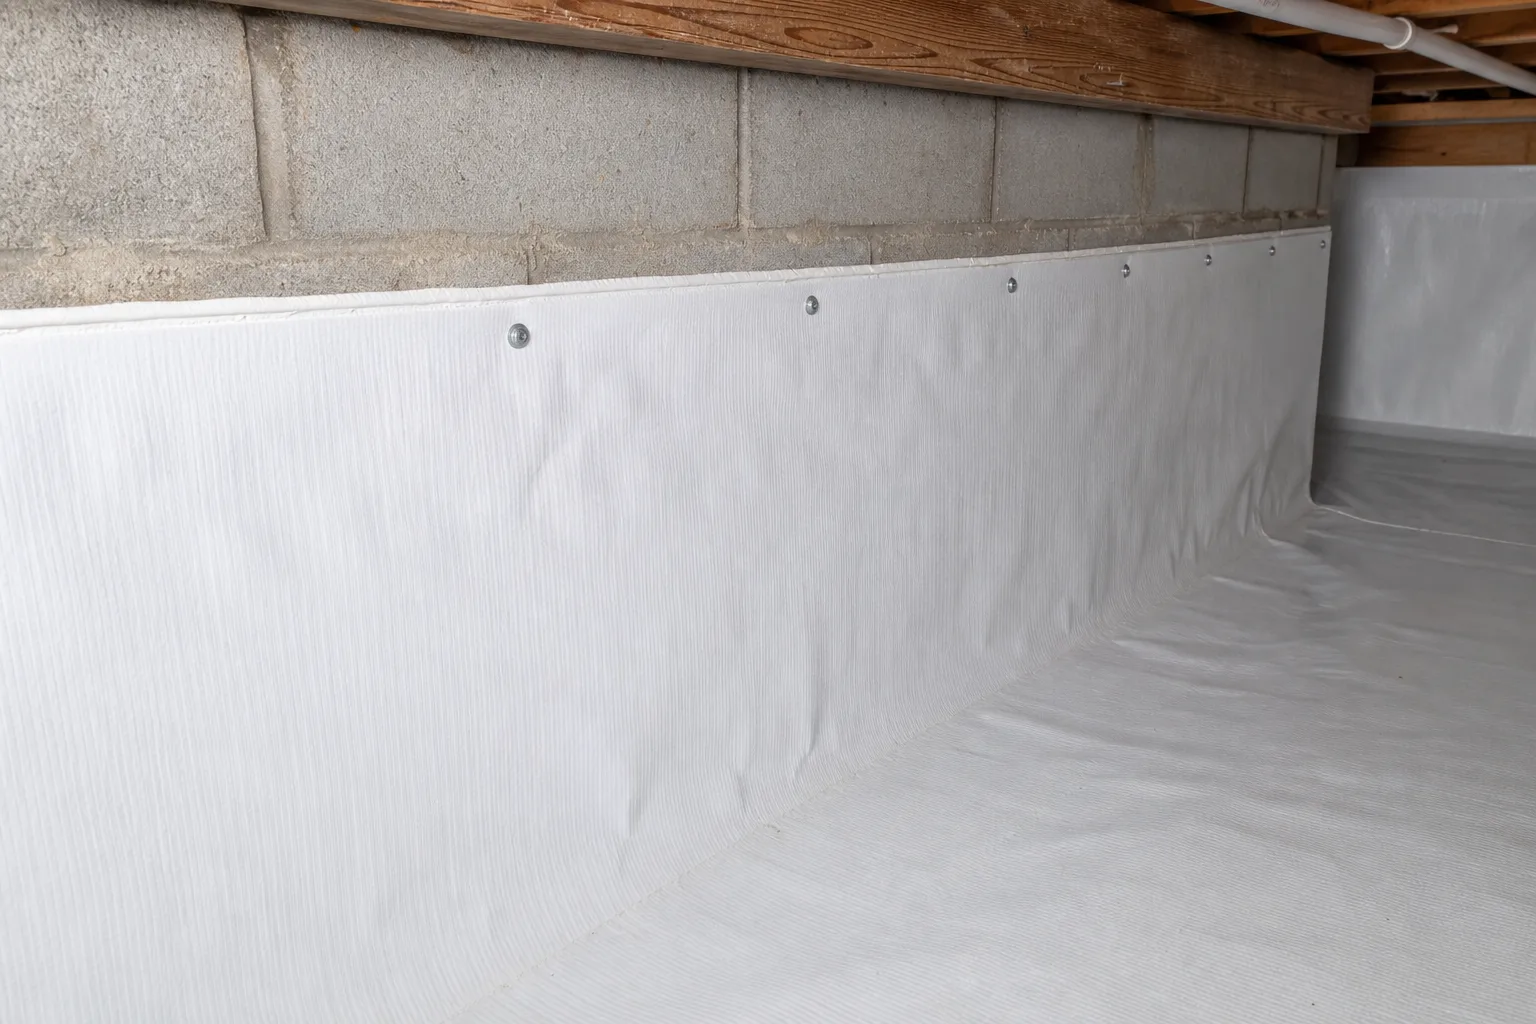
04Wall liner terminates in a straight, fastened band
It should be mechanically fastened and sealed a few inches below the sill plate, in a line — not stapled at random heights, not left loose at the top to peel away.
05The floor liner and wall liner are joined
Two separate sheets meeting at the corner without being sealed to each other is a gap along the entire perimeter of the house.
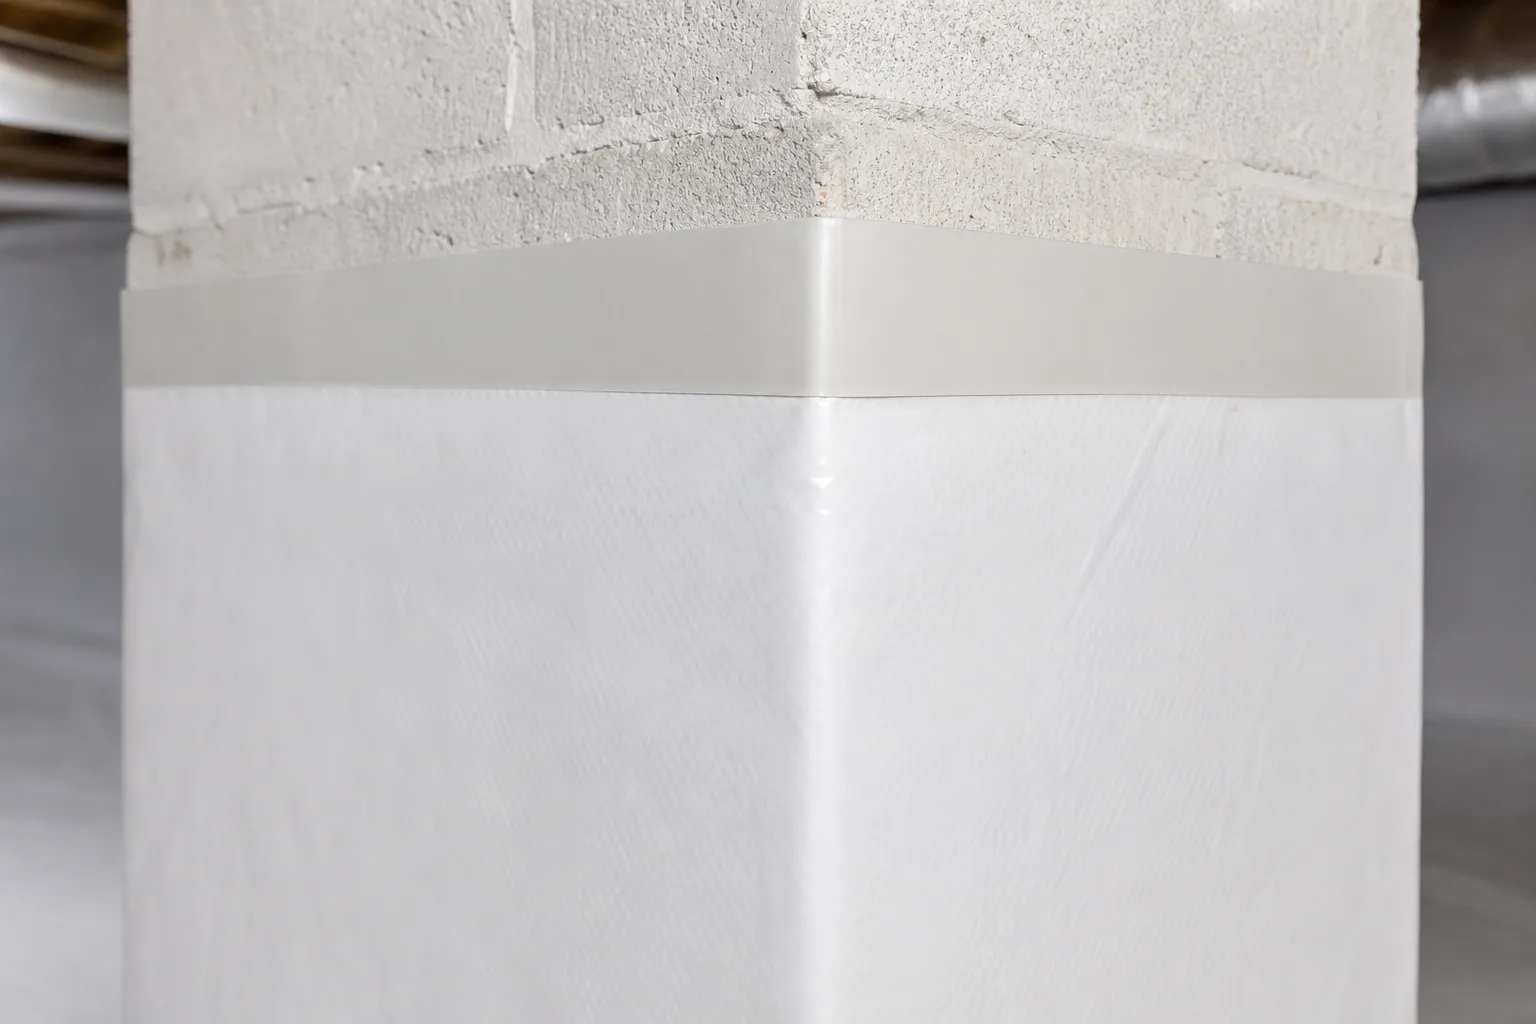
06Piers are wrapped and taped, not just skirted
The liner should turn up the pier and terminate in a clean band. A sheet cut around the base and left open is an opening straight to the soil.
7–9 · Penetrations and equipment
07Every former vent is sealed
Count them from outside, then find each one from inside. A single missed vent keeps the space connected to outdoor humidity, which is what the whole system exists to stop.
08Pipe and duct penetrations are sealed at the liner
Anywhere something passes through the liner or the wall, there should be a fitted, sealed collar. Foam squirted around a pipe as an afterthought is not the same thing.
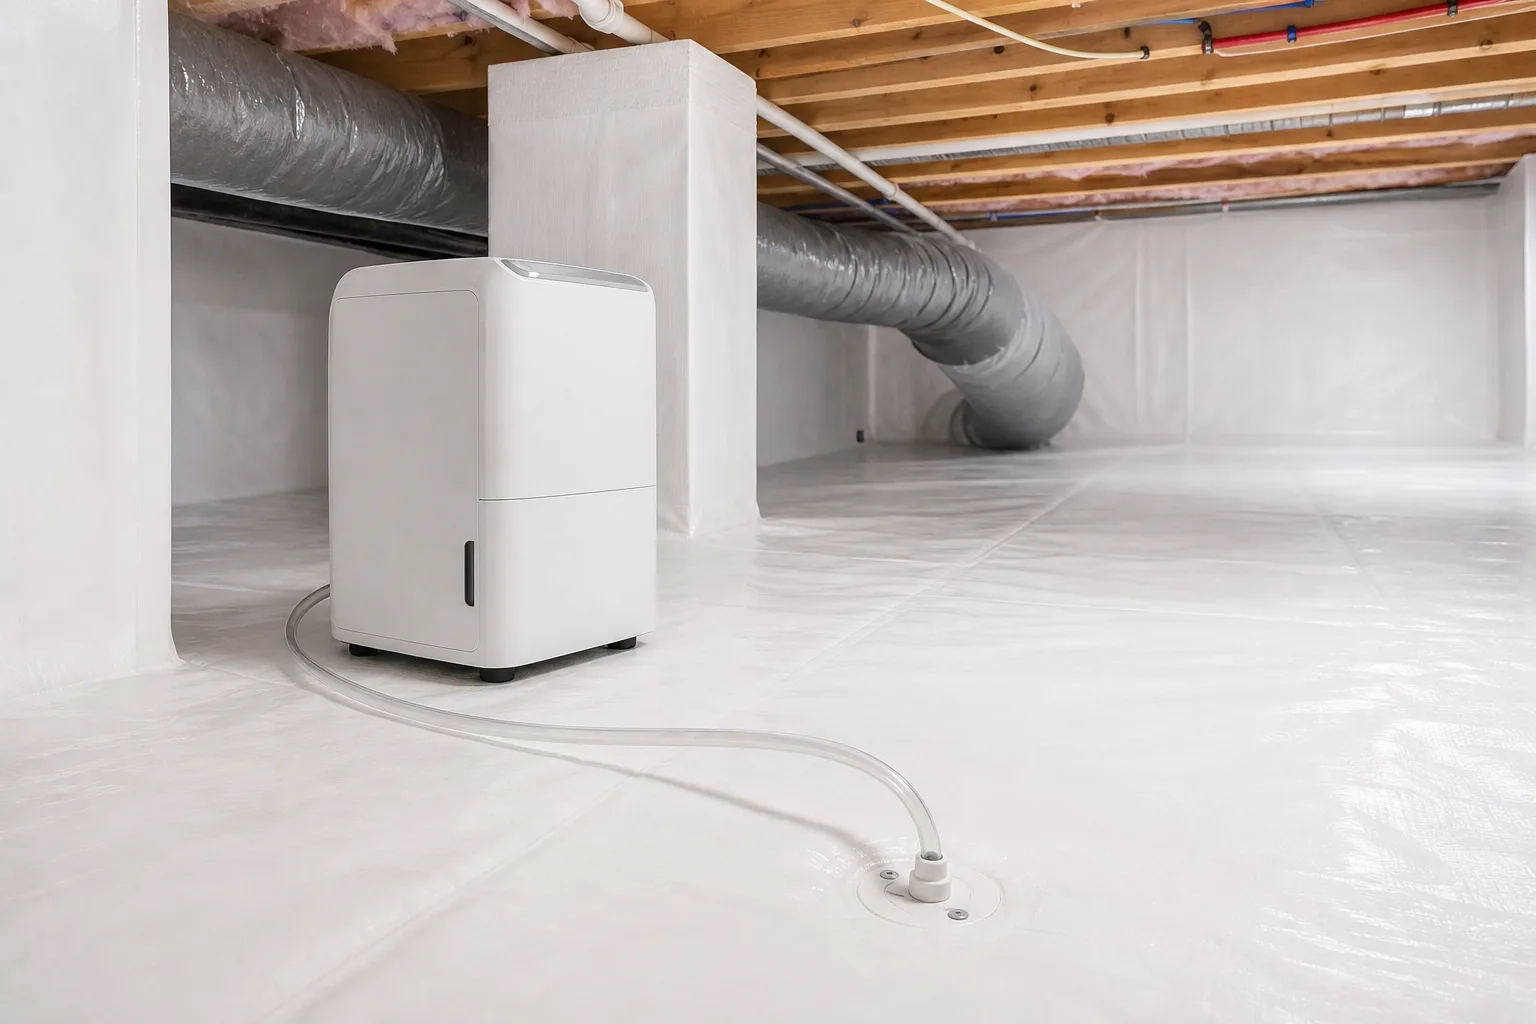
09The dehumidifier drains somewhere real
Follow the condensate line with your eyes. It must terminate at a drain, a pump, or an exterior discharge — not into a bucket, not into the liner, not looped uphill.

Ask for the photos before anything is closed up
Half of this list becomes unverifiable once the hatch shuts. A company that stands behind its own work photographs the seams, the terminations and each sealed vent as it goes, and hands the set over without being pushed. Ask at the start of the job, not the end — that way the request is a normal part of the scope rather than an accusation.
The same principle runs through this whole site: a claim with a date and a source behind it is worth something, and one without is worth exactly as much as the confidence it is delivered with. If you are still choosing a contractor, our 12 questions to ask covers what to establish before signing, and each directory listing shows which public-record checks that company has, with the date each one was read.
▸What should I check before making the final payment on a crawl space encapsulation?
Walk the space with a light and look at joins rather than surfaces: floor seams sealed and not merely overlapped, the liner turned up the walls and mechanically terminated in a straight band, piers wrapped and taped, every former vent sealed, and the dehumidifier's condensate line actually run to a drain. A finished job looks like a sealed envelope; an unfinished one looks like sheeting laid on dirt.
▸Is a taped seam enough, or should it be welded?
Both are used. What matters is that the seam is continuous and adhered along its whole length, not tacked at intervals — run your hand along it and look for lifting edges, especially where two runs cross a pier. Tape applied to dusty liner fails within a season, so ask whether surfaces were wiped before taping.
▸Should I be able to see bare soil anywhere after encapsulation?
No. If soil is visible at the perimeter, around a pier, or under equipment, the liner was cut short there. That is the single most common shortcut, and it is also the easiest one to photograph and point at.
▸What if I have already paid in full and now see problems?
Document it with dated photographs before contacting anyone, then raise it in writing with your contractor referencing the scope in your contract. Most reputable companies will return for seam and termination work — those are quick fixes. Where a licence was required for the work, your state board's complaint process is the next step, and our verification report for each listing links the board record.